Olivier Beauve
Data Scientist
Azure AI Document Intelligence to extract data from invoices
Every day, companies around the world send and receive many invoices, which contain important details about payments and transactions. Usually, people have to manually extract the information from these invoices and enter it into the company’s system. This process takes a lot of time and can lead to mistakes.
Context
As businesses handle more transactions, it’s clear that a faster, more automated way to manage invoice data is needed. In this article, we show you how to automate this invoice processing using Azure cloud technologies.
Architecture
The image below depicts the workflow of the solution that is developed in the next sections. As input, you have an image corresponding to an invoice. This invoice is sent to Microsoft Azure AI Document Intelligence, an automated data processing system that utilizes AI and OCR technology to efficiently extract text and structure from documents. The recognized fields are then returned to the user and can be directly integrated into the company’s system.

The main advantage of Microsoft Azure AI Document Intelligence is its ability to allow you to customize and train your own machine learning model. This customization ensures precise extraction of the specific fields that are most relevant to your needs.
Create your own model
Step 1 - Dataset creation
A dataset typically consists of a training set and a test set. The training set is used to train the model, while the test set is used to evaluate its performance. This separation aims to ensure that the model generalizes well to unseen data.
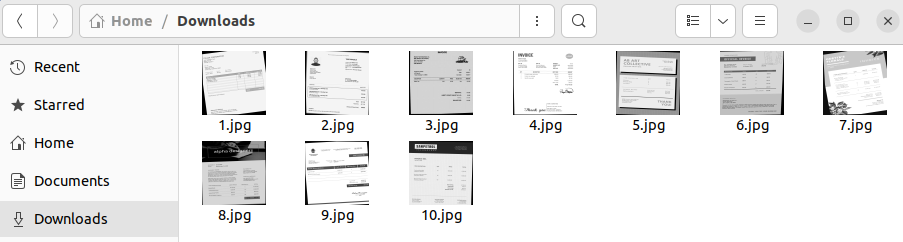
In our case, we use only 10 invoices from an existing dataset available online. 8 invoices represent the training set, while the last 2 invoices compose the test set. However, you can use your own invoices to customize the solution to fit your specific needs.
You can store these images in any folder of your choice. For simplicity, we place our dataset images directly in the Downloads folder.
Step 2 - Azure resources creation
To create and train your own model, you need to set up a Microsoft Azure AI Document Intelligence resource via the Azure portal. Follow these instructions:
- Visit https://portal.azure.com/ and start a free Azure trial or log in using your existing subscription.
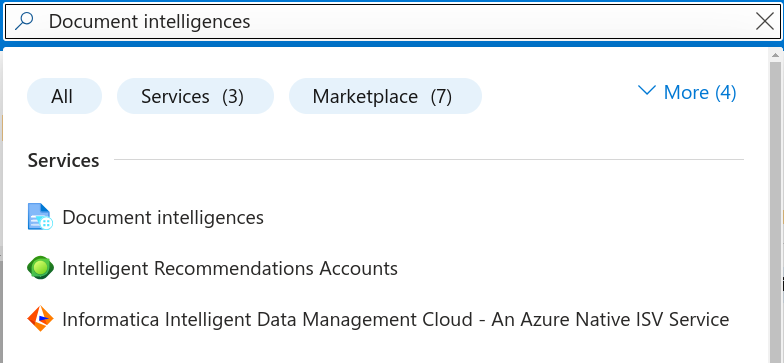
- In the search bar, type Document intelligences and select it from the results.
- Click on the Create Document Intelligence button.
- Complete the Basics form by creating a new resource group, selecting your region, and providing a unique name for
the instance. Be sure to choose the Free F0 pricing tier.
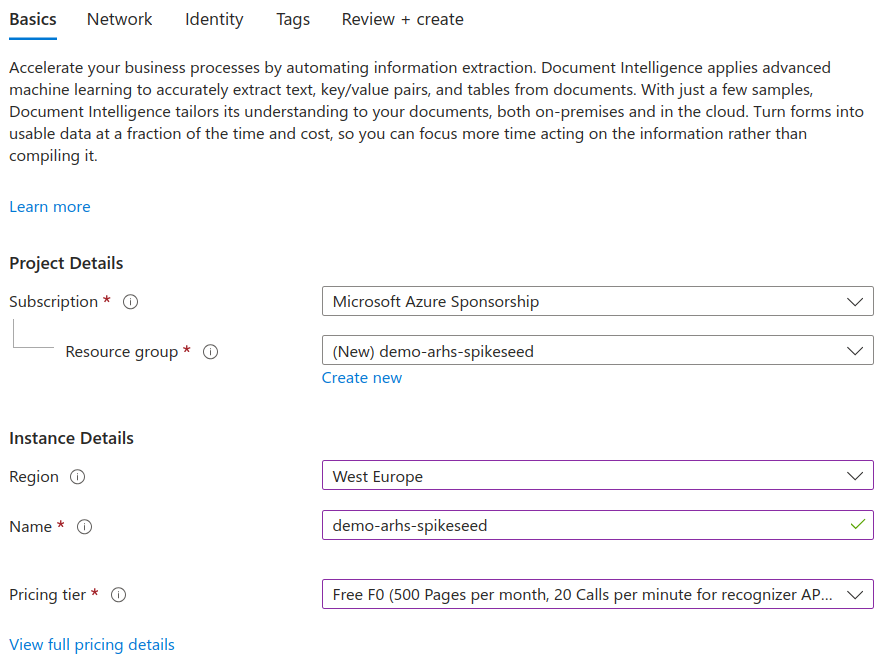
- Review and create the resource.
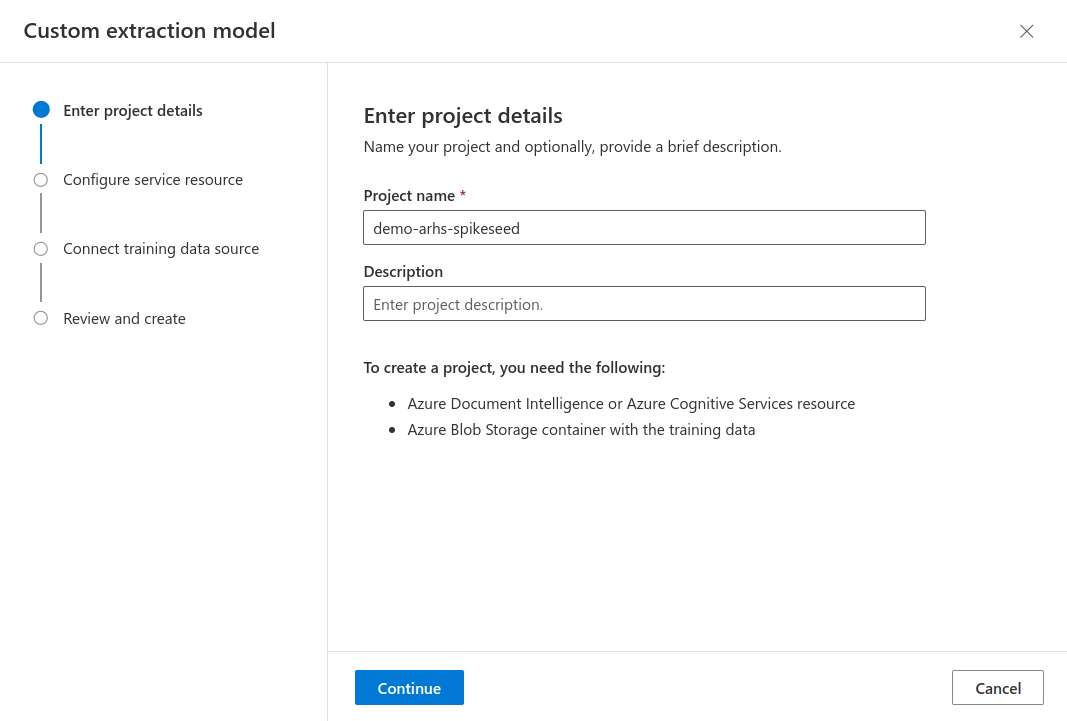
Step 3 - Document Intelligence project creation
After successfully instantiating the resource, you need to create a new Document Intelligence project. Follow these instructions:
- Visit https://documentintelligence.ai.azure.com/studio/.
- Click on Custom extraction model in the Custom models section.
- Click on the Create a project button.
- Enter the project details, including a name of your choice.
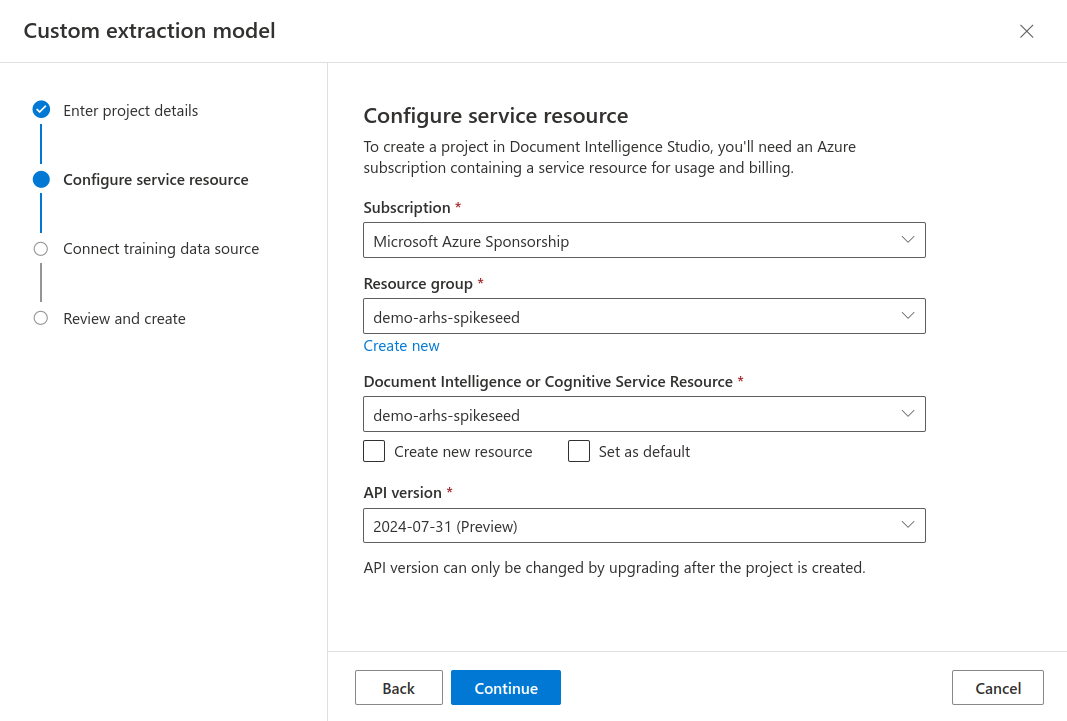
- Configure the service resource by selecting your newly created resource group and Document Intelligence resource.
- Connect a training data source within your resource group by creating a new storage account with a name of your
choice. Make sure to specify the location, choose a pricing tier, and name the blob container.
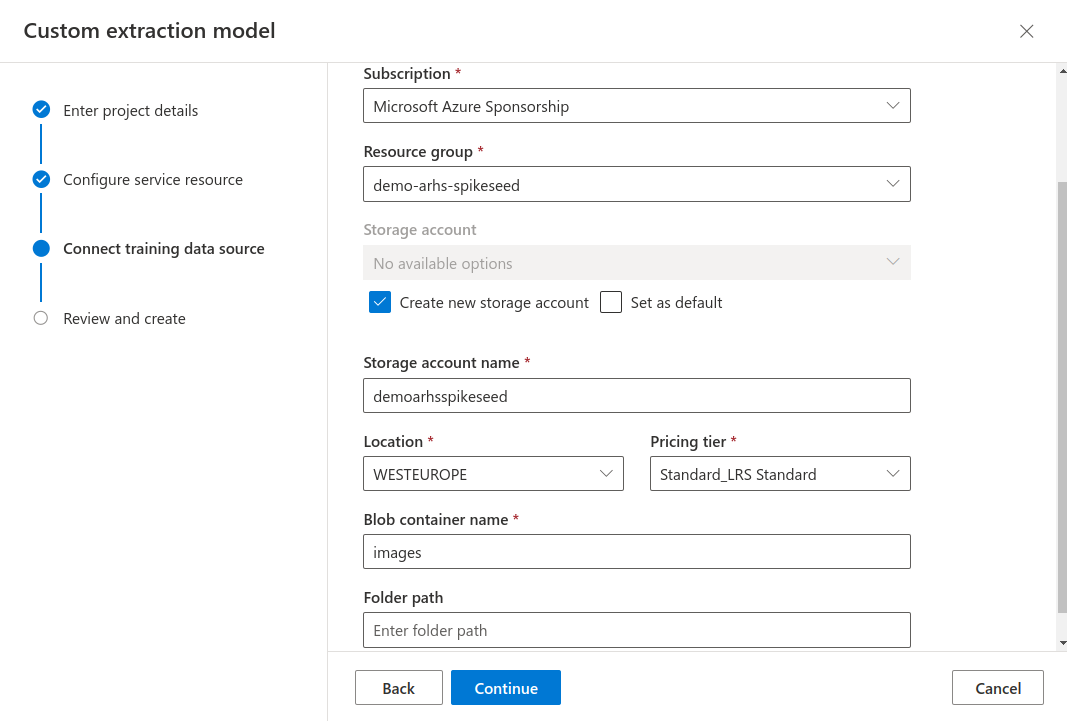
- Review your settings and create the project.
Step 4 - Data ingestion & annotation
Data ingestion is the process of collecting and loading data from various sources into a storage system or database for analysis.
Data annotation involves labeling data, such as images or text, with specific tags. This labeled data is crucial for training machine learning models to make accurate predictions.
In our case, you need to upload the various images to the blob container and annotate them to train a machine learning model that meets your needs.
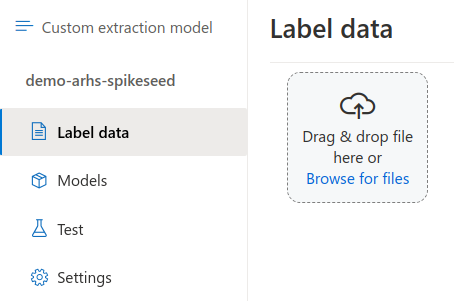
Within the newly created project, you can insert and annotate data by following these steps:
- Click on the Browse for files button and select 8 out of the 10 images from your Downloads folder. These 8 images
correspond to the training set.
- Click on the Run layout button for the first image to detect the location of various texts.
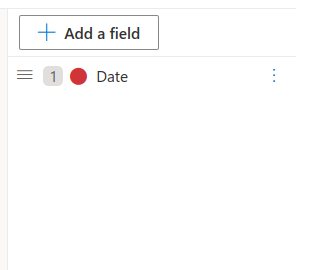
- Click on the Add a field button to create a new field for the model to detect. For example, you might start with a
field for the invoice date.
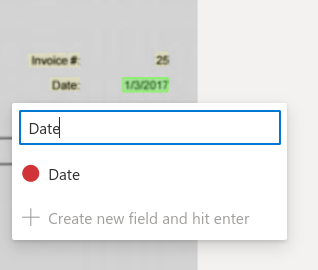
- Click on the date in the invoice and select the newly added field.
- For each additional image, click on the Run layout button and annotate the date field. You can also add other fields based on your company’s requirements.
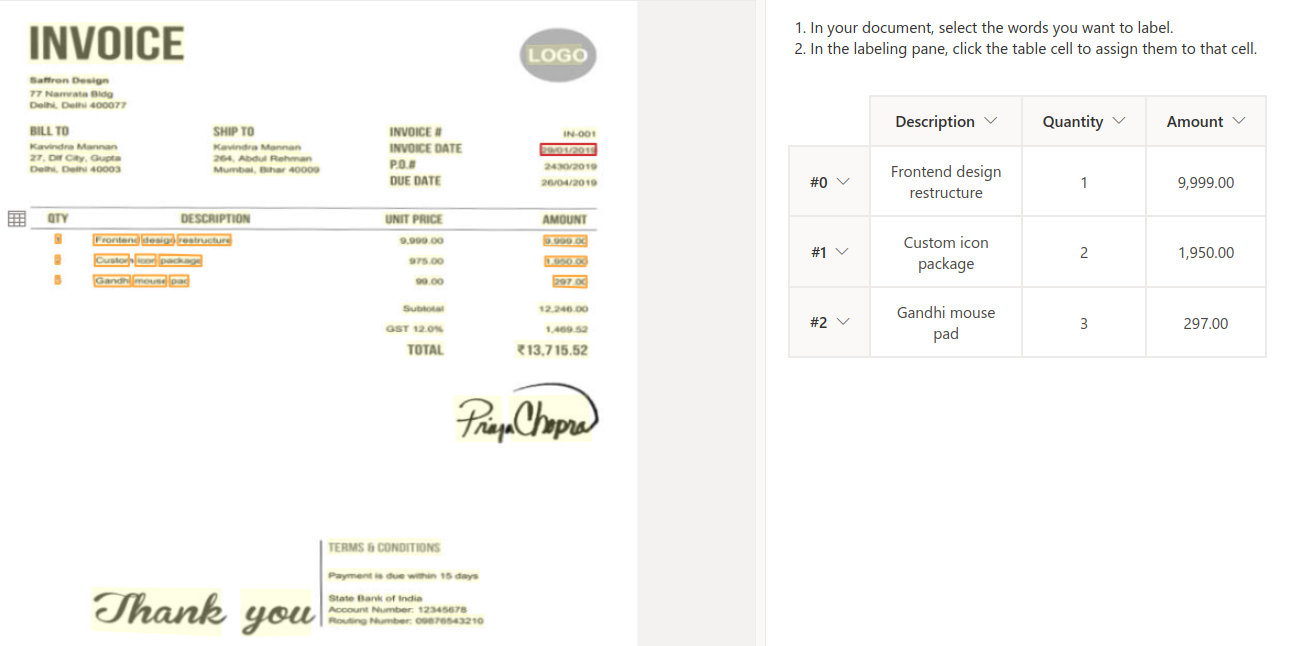
In our case, we also add a dynamic table field to detect each product invoiced, including the quantity and total
amount.
Step 5 - Model training
Now that your data is prepared, you can proceed to train a machine learning model to detect the annotated fields on new invoices. Follow these steps to train your model:
- Click on the Train button from the Label data page.
- Enter a model ID and select Neural as the build mode.
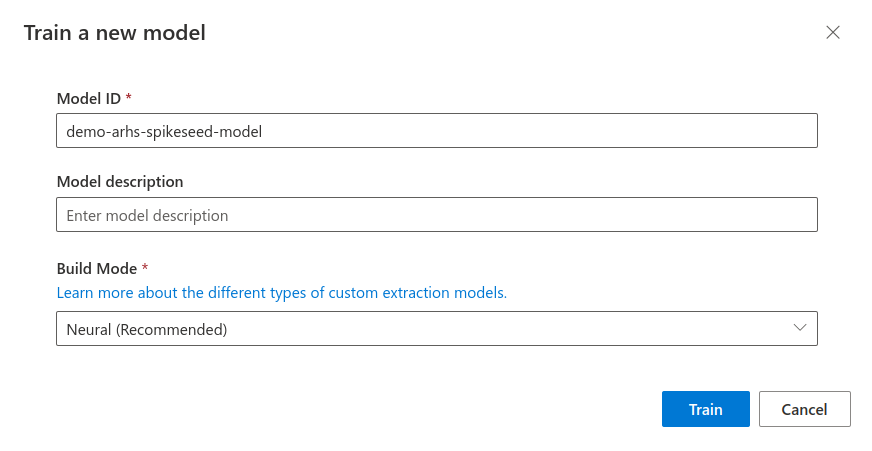
- Start the training.
You can monitor the status of your model in the Models section on the left. During training, the status displays as running. Wait until it changes to succeeded before going to the next step.
Step 6 - Model evaluation
In the Test section, you can now evaluate the model by following these steps:
- Click on the Browse for files button and select the 2 remaining images that the model has not been trained on.
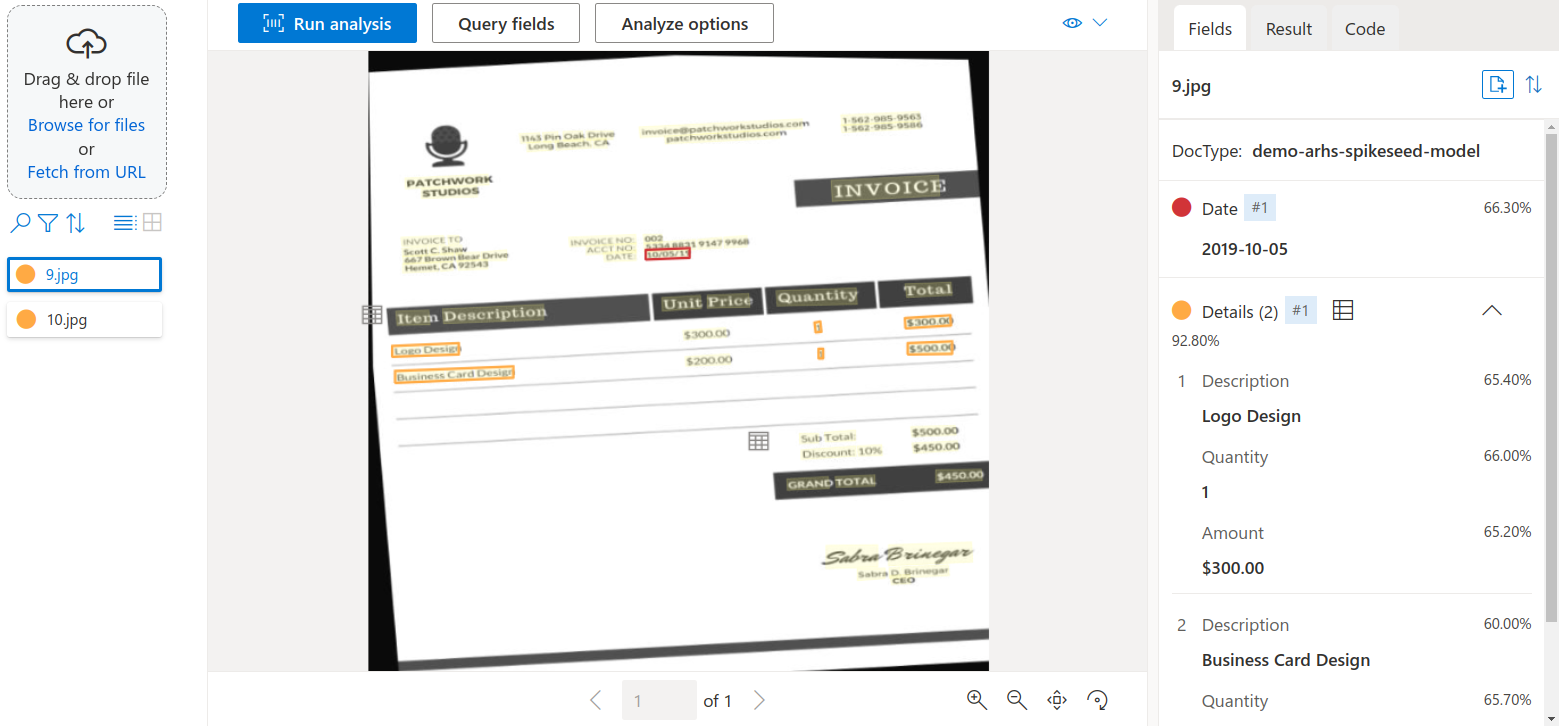
- For each image, click on the Run analysis button.
- Analyze the results to ensure that your model has accurately detected the appropriate fields.
The image below shows that the trained model has correctly detected the date as well as the details sections of the new
invoice.
Step 7 - Model deployment
The trained model is directly accessible from outside of Azure, as it is automatically deployed to an endpoint upon completion of training. No further steps are required to deploy the model.
To call the endpoint of your newly trained model using an image of your choice, you can execute the following Python code. This code calls the model’s endpoint and displays the extracted fields directly on the image.
Before executing the code, you should update the ENDPOINT, KEY, MODEL_ID, and IMAGE_PATH variables:
- ENDPOINT and KEY can be found in the Document Intelligence resource, under the Keys and Endpoint section.
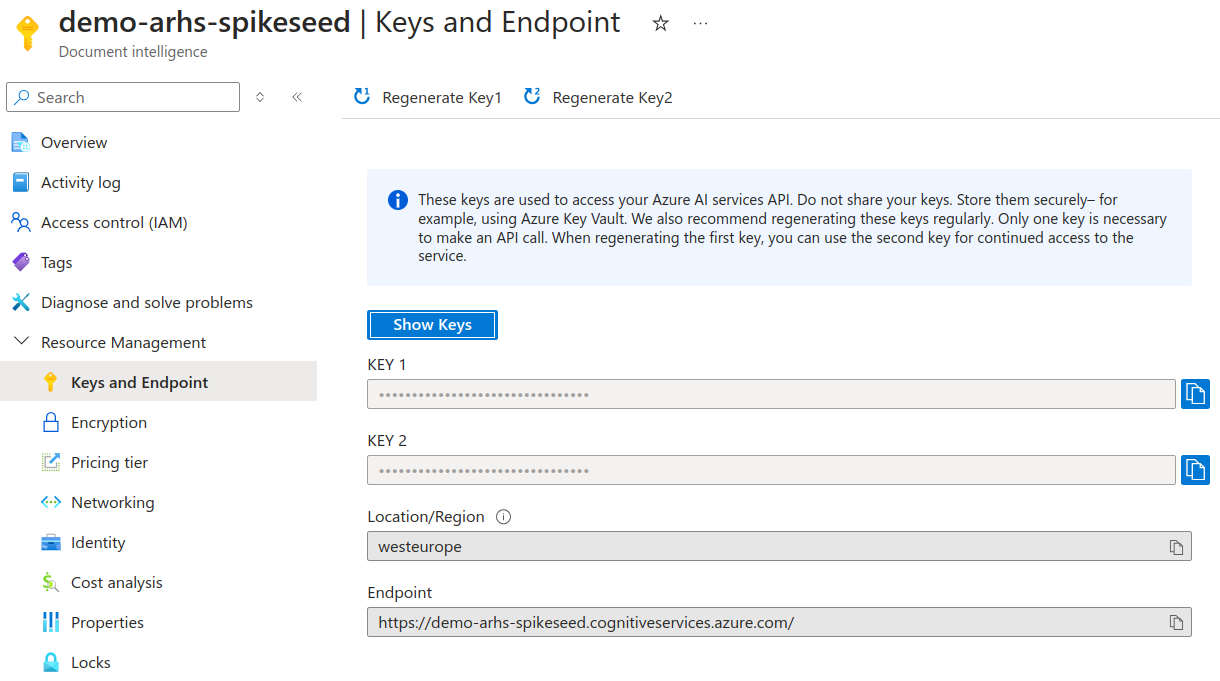
- MODEL_ID is the name you assigned to the model before training it.
- IMAGE_PATH is the path to the image on your computer.
1
2
3
4
5
6
7
8
9
10
11
12
13
14
15
16
17
18
19
20
21
22
23
24
25
26
27
28
29
30
31
32
33
34
35
36
37
38
39
40
41
42
43
import cv2
from azure.ai.formrecognizer import DocumentAnalysisClient
from azure.core.credentials import AzureKeyCredential

ENDPOINT = "YOUR_FORM_RECOGNIZER_ENDPOINT"
KEY = "YOUR_FORM_RECOGNIZER_KEY"
MODEL_ID = "YOUR_CUSTOM_BUILT_MODEL_ID"
IMAGE_PATH = "YOUR_IMAGE_PATH"


def _draw_rectangle(image, polygon, color):
    x_left = int(min(point.x for point in polygon))
    x_right = int(max(point.x for point in polygon))
    y_top = int(min(point.y for point in polygon))
    y_bottom = int(max(point.y for point in polygon))
    cv2.rectangle(image, (x_left, y_top), (x_right, y_bottom), color=color, thickness=2)


if __name__ == '__main__':
    image = cv2.imread(IMAGE_PATH)
    _, encoded_image = cv2.imencode('.jpg', image)

    document_analysis_client = DocumentAnalysisClient(
        endpoint=ENDPOINT, credential=AzureKeyCredential(KEY)
    )

    poller = document_analysis_client.begin_analyze_document(MODEL_ID, encoded_image.tobytes())
    result = poller.result()

    for idx, document in enumerate(result.documents):
        for name, field in document.fields.items():
            if field.value_type == "date":
                region = field.bounding_regions[0]
                polygon = region.polygon
                _draw_rectangle(image, polygon, (255, 0, 0))
            elif field.value_type == "list":
                for sub_field in field.value:
                    for item in sub_field.value.items():
                        region = item[1].bounding_regions[0]
                        polygon = region.polygon
                        _draw_rectangle(image, polygon, (0, 255, 0))
        cv2.imshow("result", image)
        cv2.waitKey(0)
Conclusion
In this article, we introduced Azure AI Document Intelligence, a tool that simplifies text extraction and analysis from images, making it useful for automating data processing tasks. It can be customized for specific applications like invoice processing, timesheet management, or identifying privacy-sensitive information. Additionally, the service supports various document types and languages, making it especially beneficial for large companies.